 |
ADVANCED CHARACTER SET UP
IN MAYA 3.0
|
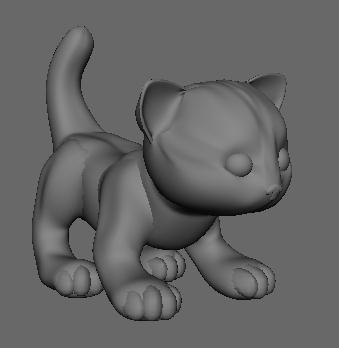
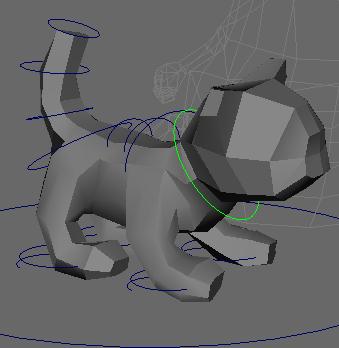
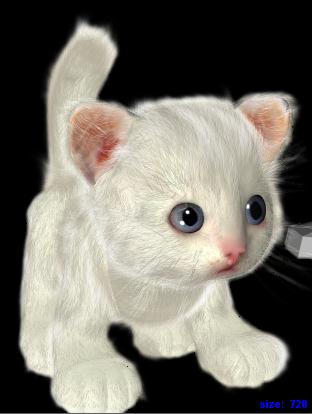
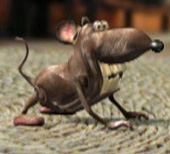
In this tutorial we will be creating an IK setup, controls, and skinning for the little kitty above.
The first step is to make a model. This one is in NURBS, but you can make it in subdivison surfaces instead if you want.
MODELING
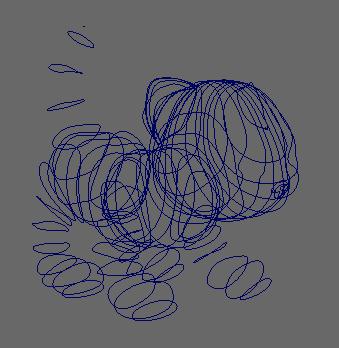
Make some curves circles and move them around till they look like the above illustration (I never said this was a modeling tutorial).
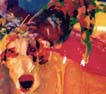
Loft it together so it looks like this. It is sort of rough with the seams, but since I put fur on it later it didn't matter too much.
SKINNING
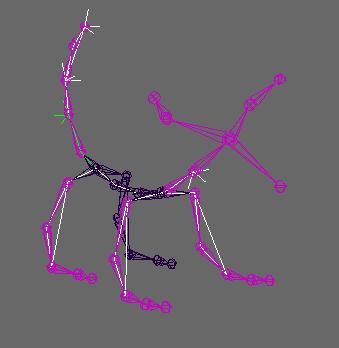
Make a skeleton and stick some IK chains on it. (I used a spline IK for the back, Rotate Plane solves for the legs, and lots of little IK's for each joint of the tail).
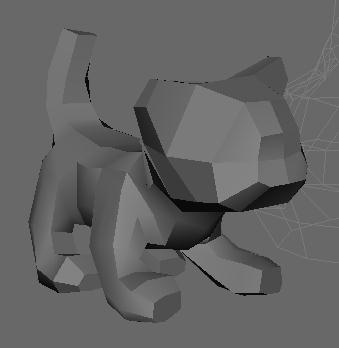
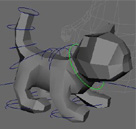
Now we're gonna skin it. But since I don't feel like editing a zillion control points on all my nurbs objects, we are going to make a simple reference object (see above illustration) and skin that to the skeleton. There are way less points to edit so the skinning is manageable.
Then just attach the NURBS geometry to the polygon reference object with a wrap deformer, and you're done.
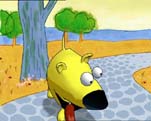
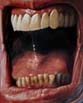
What's cool about this skinning method is that I also have a dummy object that I can animate with that is way less heavy than my detailed model (see bellow), so it goes faster.
And I can even unwrap my model, make changes to it, and then re-wrap it without having to do the weighting all over again since it is done on the simple reference object.
So now comes the part you've all been waiting for: The Character Setup! Hooboy! We're gonna get a bit complicated now, so hold on to your hat. CHARACTER CONTROLS
We want to have three basic kinds of controls here:
(c) 2003, All Rights Reserved. "Make Links not Copies"